Sharing Your Computer’s Network Connection Windows 8/8.1

Determine Wireless card capabilities

The first step will be to open a command prompt.

To do this click on the desktop option


Next you will need to right click on the start button (four squares normally located at the bottom left side of the screen)

Next left click on Command Prompt (Admin) and then click on the Yes button to open the command prompt window.

you now have a command prompt open which will look like the window below

You will now need to type the following command:

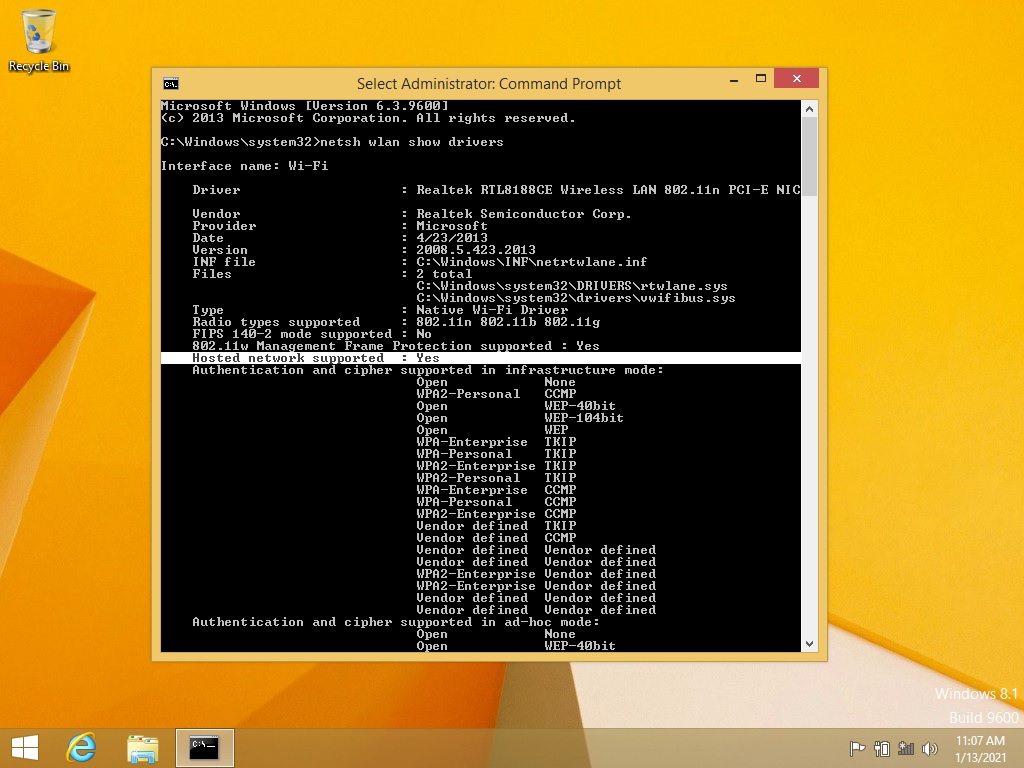
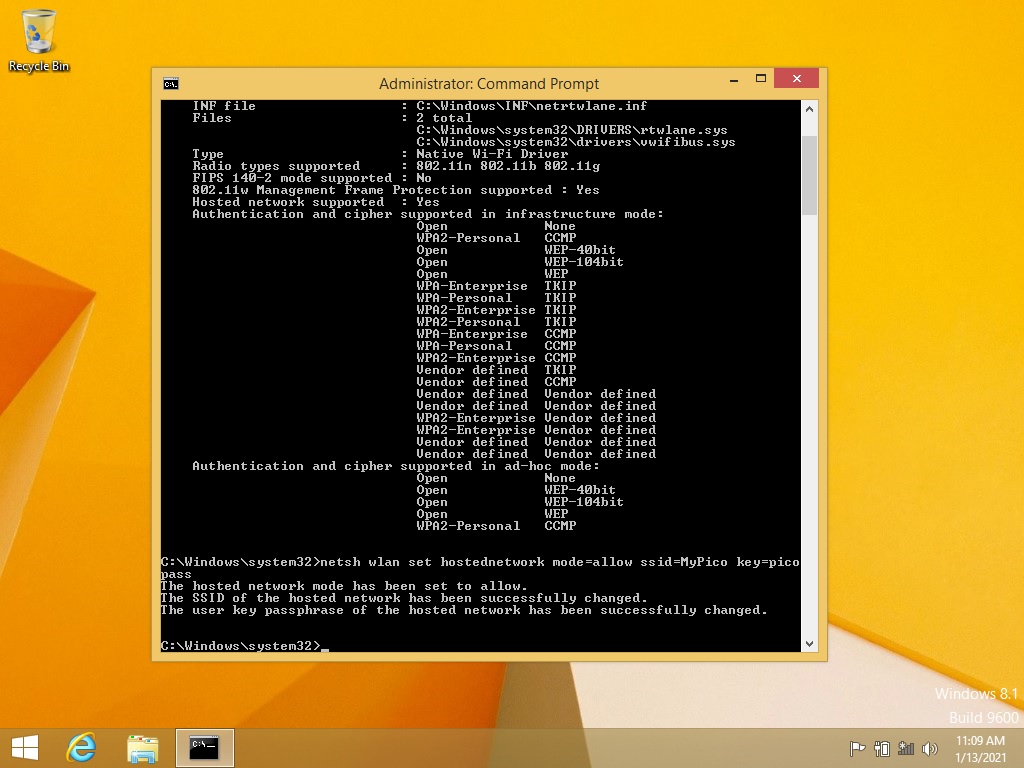
netsh wlan show drivers

And then press enter.

You will see a listing of information about your wireless adapter that is installed within your computer

or any external adapter that you may have connected to your computer.

Look for the line that says “Hosted network support :”  This will be followed by the word Yes or No. 

If it says Yes you can continue as the following setup should work to get your Pico connected to your computer.

If it says No then unfortunately your wireless adapter does not support Hosted network support then this method will not work for your wireless adapter.

great! your network card supports hosted networking

Time to get setup so you can start brewing!

Next you will need to type the following command:

netsh wlan set hostednetwork mode=allow ssid=MyNetworkName key=MyPassword

Replace MyNetWorkName with the name you would like to use for your wireless network that you are going to use to connect your Pico machine to your computer.
Replace MyPassword with the password you want to use for this wireless network.  This needs to be at least 8 characters (numbers / letters)

Provided everything was successful you can continue to the next step.

If you received any message that is different from the one on the right side then double check what you typed to make sure it was typed correctly.

Type the following command:

netsh wlan start hostednetwork

and then press enter. You should receive a message that says “The hosted network started.

Type the following command:

ncpa.cpl

and then press enter. This will open the Network Connections Screen.

Next right click on the Wi-Fi adapter and then left click on Properties.

Just a few final steps and you will be finished!

Click on the  “Sharing” tab
Click on the option Allow other network users to connect through this computer’s internet connection
Next click on the box under the option “Home network connection”
Click on the new network connection.  This should be something similar to “Local Area Connection* 3”
And finally click on the OK button

You have now completed the network setup so your Pico machine can communicate to your computer.